EN

How do you choose the right embroidery technique for custom plush toys?
How do you choose the right embroidery technique for custom plush toys?
01 Flat Embroidery
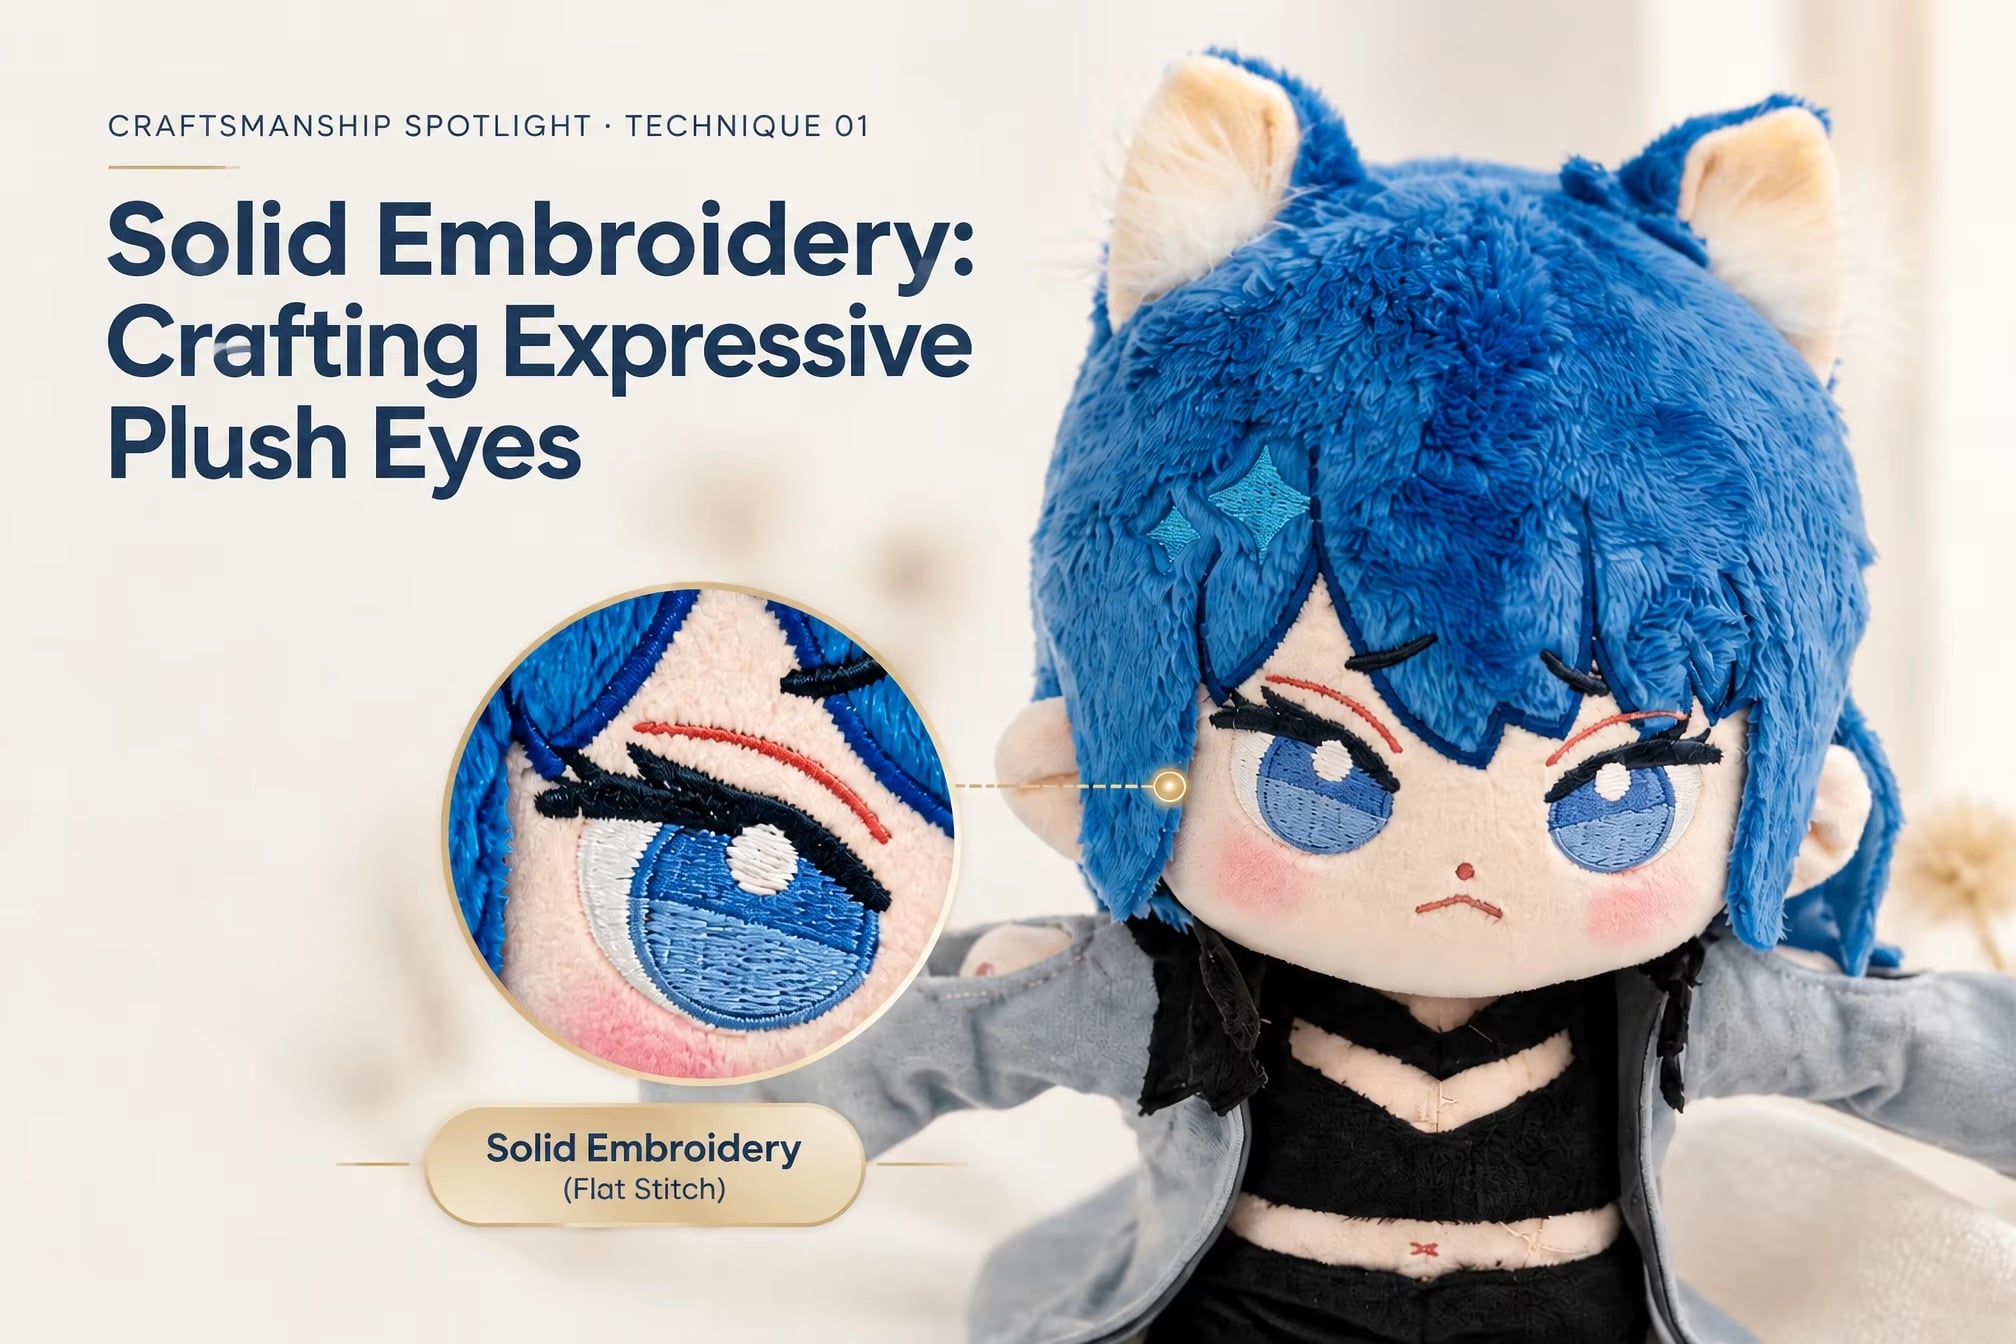
How does computerized embroidery create designs on the faces of plush toys? The principle is straightforward: the design is filled in stitch by stitch onto the plush fabric—much like using thread instead of a pen to "draw" on the material.
Its advantages are clear:
The edges are crisp and clean; the design is durable, washable, and resistant to fading or unraveling, even with frequent handling. It offers superior safety—there is no risk of small parts (like plastic eyes or noses) detaching. Consequently, for toys intended for children under 3, we highly recommend using embroidery for facial features instead of plastic components. It also excels at rendering details, ensuring that text, eyebrows, eyes, mouths, and small logos appear sharp and distinct.
It does have limitations:
For larger designs, the accumulation of stitches can cause the fabric to stiffen, resulting in a less soft feel. Costs are calculated based on the stitch count—more stitches mean higher expenses. It cannot easily achieve gradient effects, and lines thinner than 3mm may appear blurred or messy.
Therefore, it is best suited for:
Small-scale designs (within 4–5cm), facial features, brand logos, signatures, and fine lines. It performs exceptionally well on short-pile plush and "crystal super-soft" fabrics; it is the standard technique for the faces of character-based (IP) plush toys.
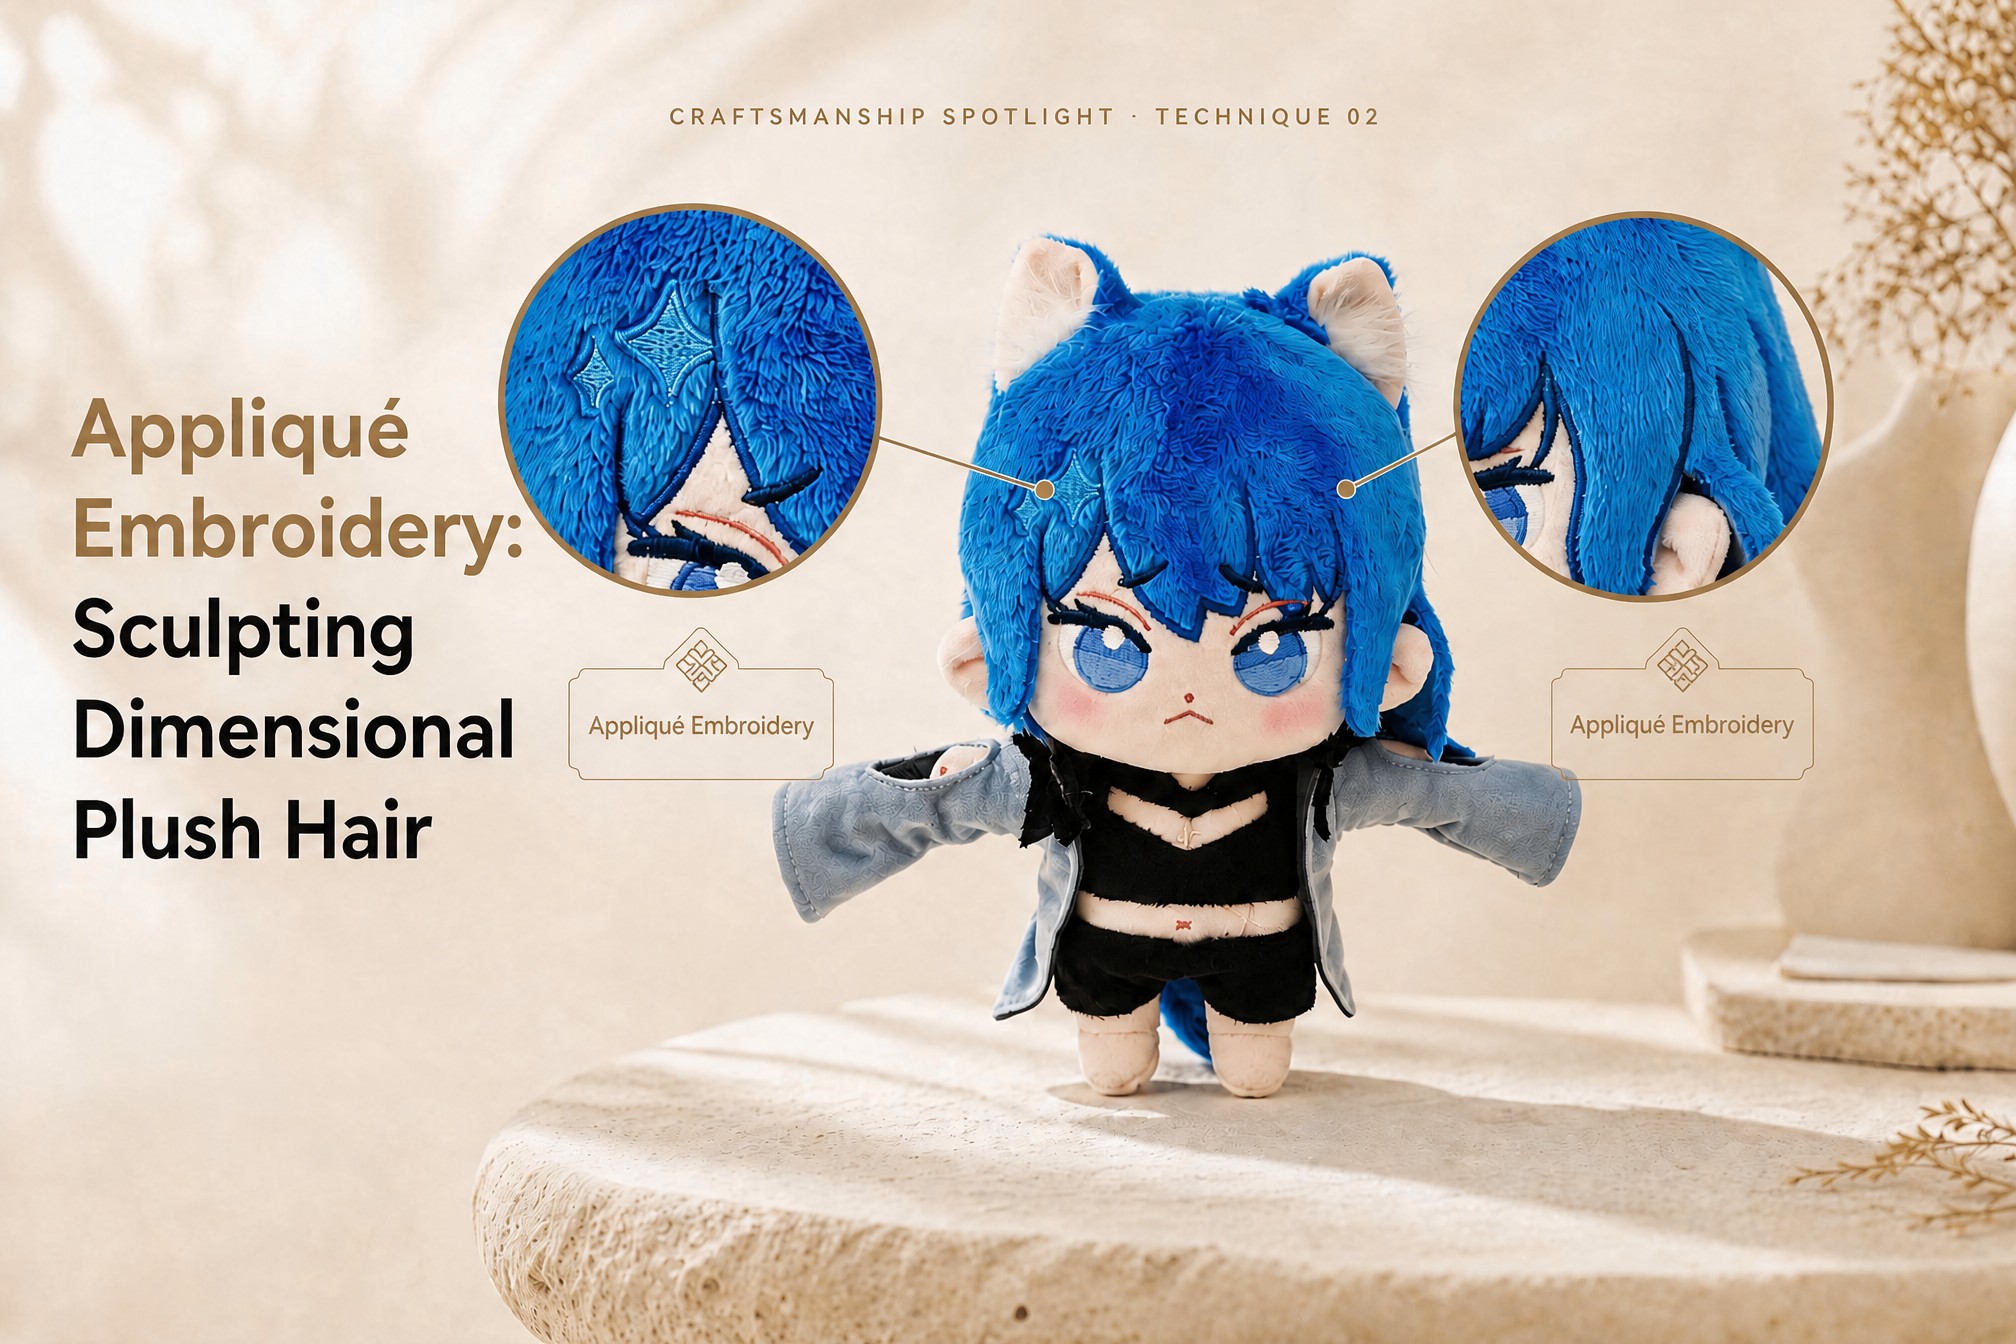
02 Appliqué
How is appliqué done? The concept is simple: a piece of fabric is cut into the desired shape and placed onto the main plush fabric, then secured by stitching along its edges.
Its practical advantages include:
Large designs remain soft to the touch rather than becoming stiff. For large-scale patterns, it is more cost-effective than full-coverage embroidery. It also provides excellent color fidelity for large, solid-colored areas, resulting in a clean, polished look.
Points to consider:
A visible border of stitching remains around the edge of the appliqué. It is not well-suited for complex, multi-colored designs. If the edges are not finished properly, the fabric may snag or fray; therefore, this technique requires laser-cutting combined with dense edge-stitching. Therefore, it is best suited for the following applications:
Wings, badges, color blocks on clothing, large monochromatic patterns on the body, large-scale cartoon color blocks, and extensive decorative elements on character figurines (IP merchandise).
03 Towel Embroidery
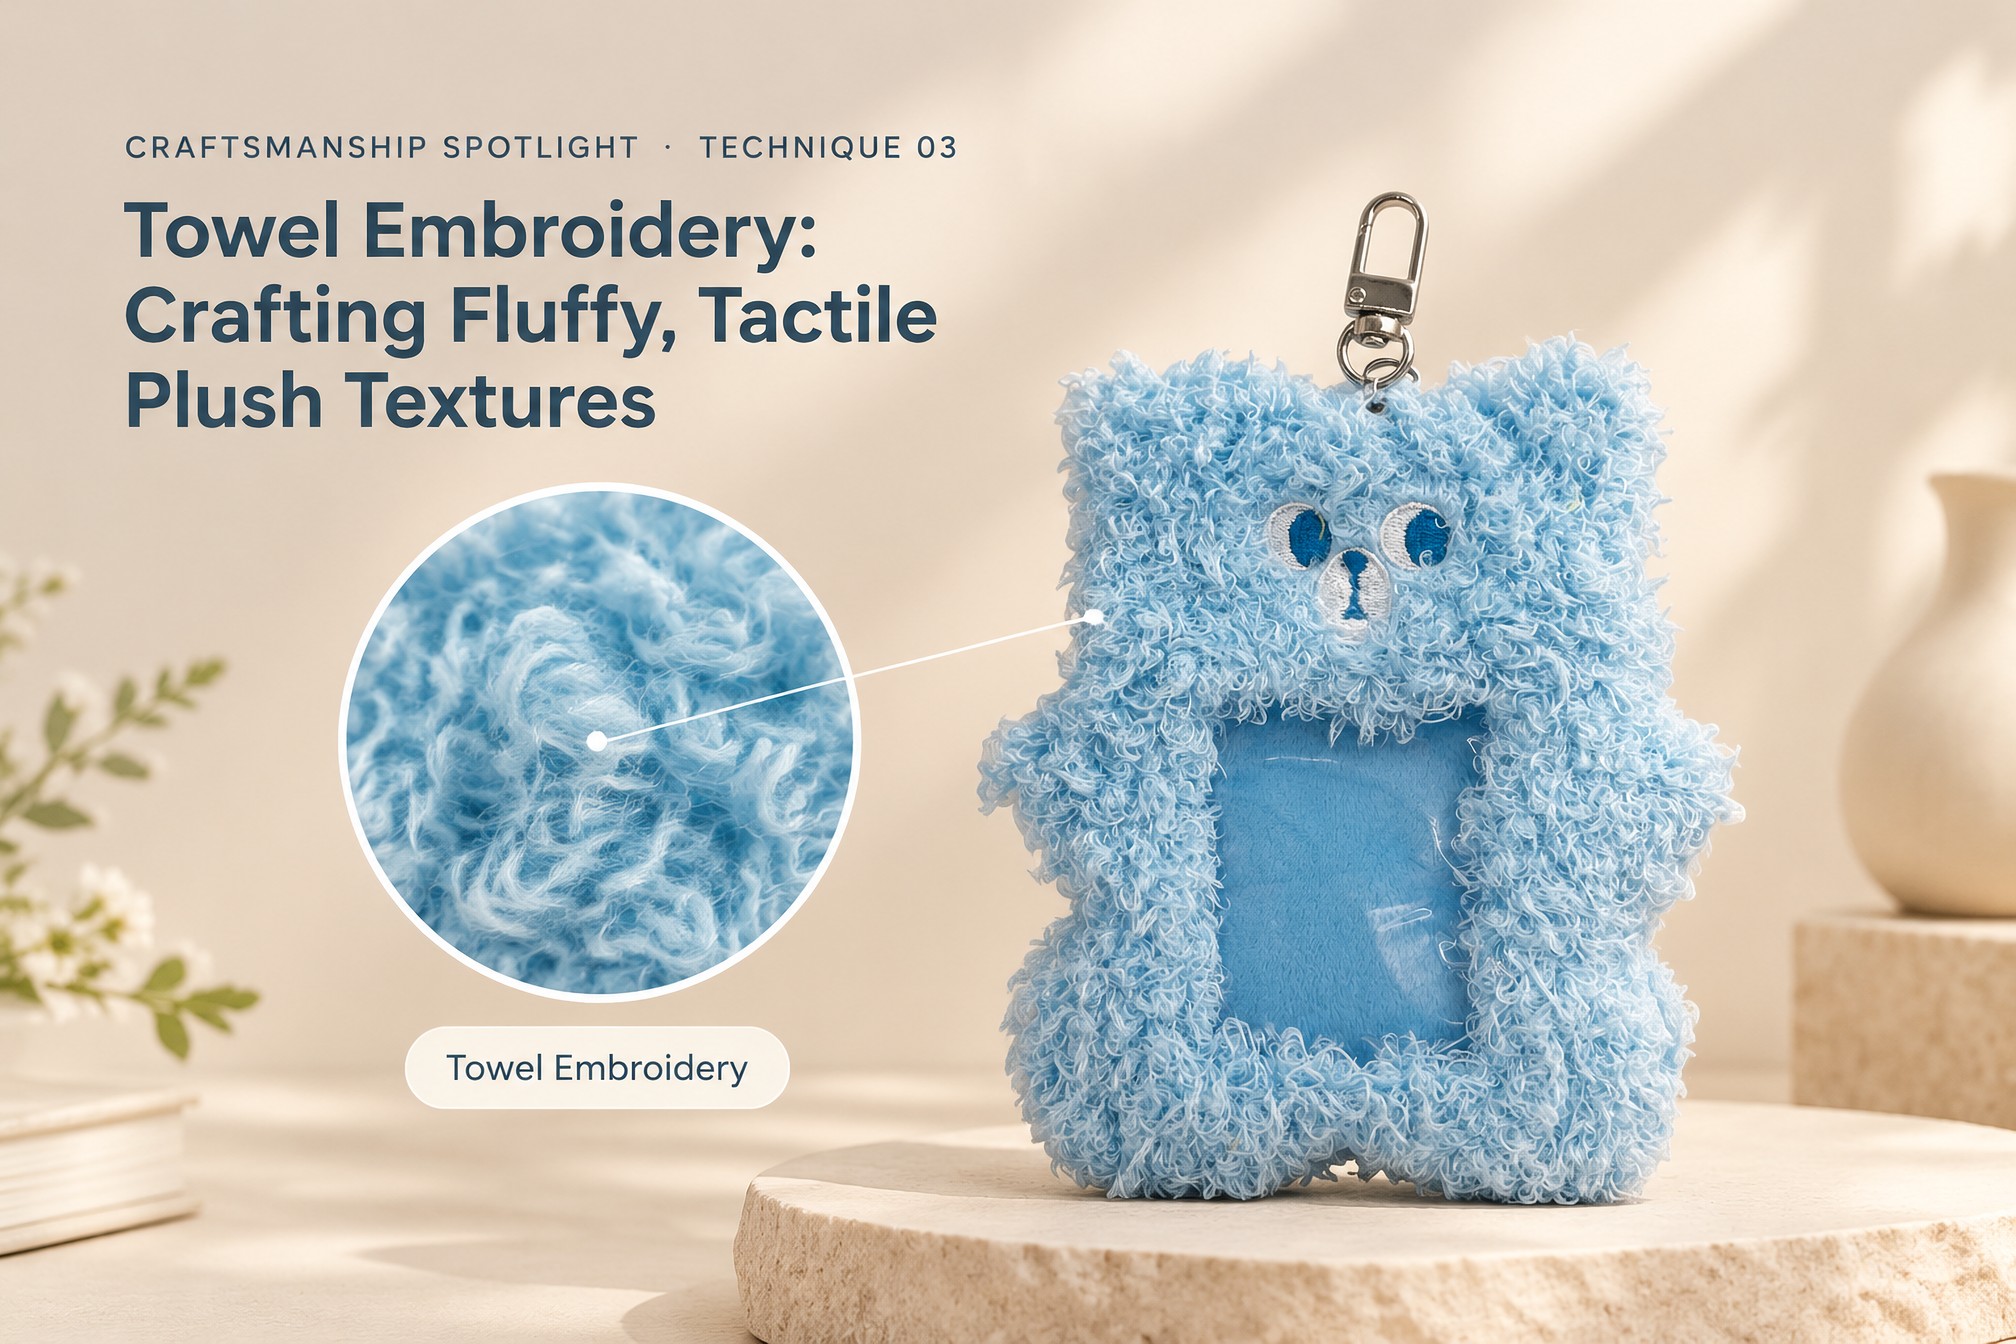
How is towel embroidery (also known as loop embroidery or terry embroidery) created? The principle is quite straightforward: the embroidery thread forms a series of loops on the fabric, resulting in a raised, three-dimensional texture that resembles short-pile plush.
Its advantages are notable:
It offers a three-dimensional, fluffy effect with a tactile quality similar to plush, lending a premium feel. It also creates strong visual depth, giving the design a bold, prominent presence.
However, it also has clear limitations:
It cannot render fine lines—details smaller than 1cm tend to become blurred or indistinct. It is more costly than standard flat embroidery, the loops are prone to snagging, and it is unsuitable for the delicate features of a face.